A crisp exterior and tender crumb start well before the batter hits a hot grid; routine upkeep of the iron and its parts keeps results consistent and reduces wasted batches. Small habits repeated often can turn an inconsistent appliance into a reliable workhorse that produces level, golden waffles more often than not.
1. Clean The Plates And Grids
After each session, wipe excess batter away while the iron is still warm but not scalding; a soft cloth or silicone spatula removes crumbs and stuck bits without scratching. Letting residue harden invites uneven heating and odd sticking, which in turn leads to tears and holes in the finished waffle.
A short rinse under warm water with mild soap will handle most gunk, though take care not to submerge electrical components or let water creep into hinges. Regular quick cleans keep the contact surface true, so the pattern stays sharp and release is predictable.
For deeper grime, lift removable plates if your model allows and soak them briefly in hot, soapy water; a soft brush will get into nooks where batter tends to collect. Avoid metal scrubbers on non-stick coatings because scratches change how batter spreads and browns, turning what once was a good run into a hit-or-miss result.
Once cleaned, dry parts thoroughly to prevent rust on any exposed metal and to avoid steam spots that can warp thin plates over time. Returning clean, dry plates to the unit means the next batch starts with a trusted surface rather than a question mark.
If you want dependable performance for high-volume breakfast service, consider upgrading to a durable commercial waffle maker designed to handle consistent daily use.
2. Calibrate And Check Temperature
A waffle iron that reads 375°F on its dial might be doing something different in reality; an inexpensive probe thermometer helps you check real heat at the cooking surface and learn how your model behaves. Some devices heat in spots, warming center faster than edges, so testing several points gives a clearer picture of true cooking conditions.
If the iron runs cool, waffles take longer and often soak up oil; if it runs hot, they char at the edges before the center sets, yielding a burned exterior and gummy interior. Knowing the temperature profile lets you tweak batter thickness and cook time rather than chasing outcomes blind.
Regularly inspect the thermostat dial and any indicator lights, watching for sluggish response or wild swings during a cycle, signs that a control component is aging or loose. A steady preheat and consistent maintenance of set temperature reduce variance each batch, making for a predictable routine where timing and batter ratios work as intended.
In some cases a slight adjustment of heat, or a brief preheat extension, fixes texture problems without changing your recipe at all. Small calibration efforts often pay back in fewer ruined waffles and less wasted ingredients.
3. Use Fresh Batter And Proper Storage

Batter that sits too long changes by the minute: leavening agents lose potency, sugar hydrates, and air escapes, shifting texture in ways that show up as dense or uneven waffles.
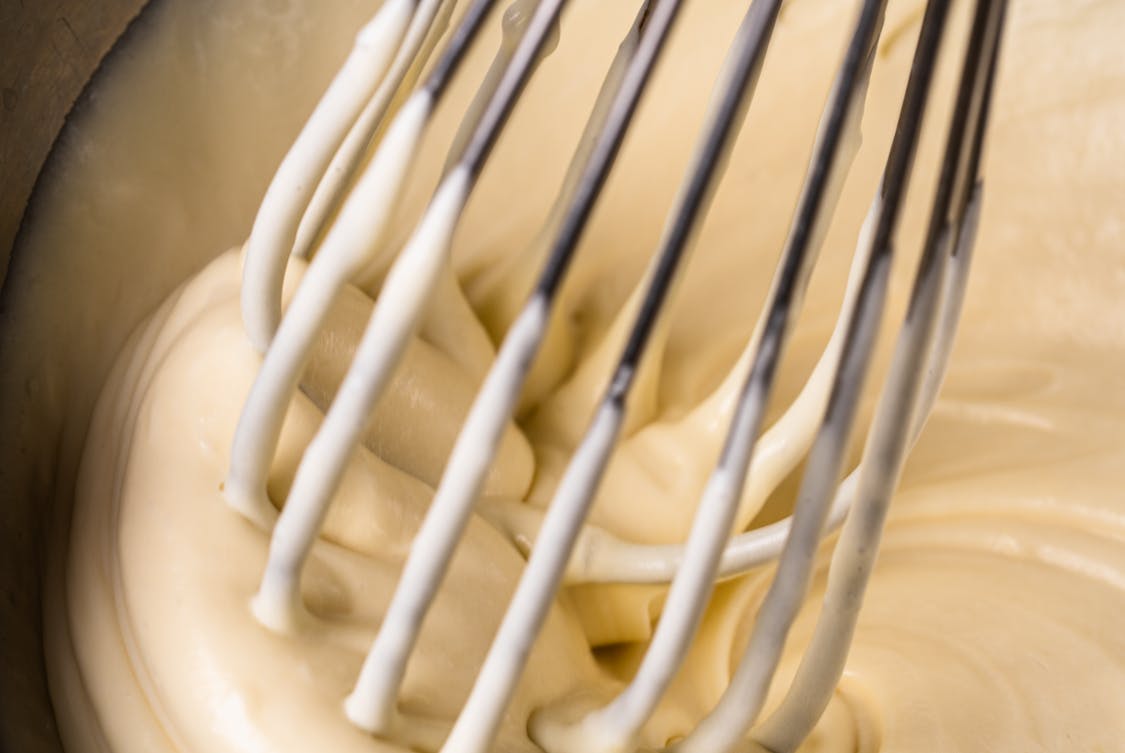
Mix batter shortly before cooking for best lift, or if you need to store it, keep it chilled in an airtight container and give it a gentle whisk before pouring to reincorporate any settled elements.
Freezing batter is an option for certain recipes, but thaw slowly in the fridge and check consistency prior to using; frozen-and-thawed mixes sometimes require a splash more liquid to reach pourable stage.
Label jars with mix date to avoid second-guessing and to spot trends; old batter is a frequent, sneaky culprit behind inconsistent batches.
Flour type, egg freshness, and milk acidity all shift batter behavior, so standardize the ingredients you use and note small changes that affect outcome (for instance, swapping powdered milk for fresh). A consistent feedstock reduces variance and helps you identify mechanical issues with the iron when a batch goes sideways.
When scaling recipes, do it in increments rather than guessing, because batter that is too thin runs into grids and cooks unevenly, while batter that is too thick results in undercooked centers. Good storage, paired with consistent ingredient choices, puts you a rung higher on the ladder toward repeatable waffle quality.
4. Inspect And Tighten Mechanical Parts
Loose hinges, wobbling handles, and misaligned plates add wear and lead to uneven press pressure; a simple once-in-a-while check with a screwdriver can catch trouble before it ruins a batch. Tighten screws and fasteners gently — overdoing it can strip threads or warp thin metal — and replace any missing hardware right away to keep alignment true.
Look for cracked cords, worn seals, or any signs of heat damage around controls, since electrical issues often show up as intermittent heat or sudden failure mid-batch. A mechanically sound appliance gives a consistent press and contact, and it keeps the pattern even from edge to edge.
Pay attention to hinges and springs, giving them a few cycles while cold to detect odd sticking or binding that only appears after several uses when grease has shifted. Light lubrication with an appropriate food-safe product can bring stiff parts back to life, but avoid slathering areas that touch batter or non-stick surfaces.
If a hinge squeaks or resists, trouble is likely waiting in the wings; addressing it early keeps the machine working smoothly and prevents bigger repairs. In short, a little mechanical TLC prevents many of the headaches that show up as lopsided or misshapen waffles.
5. Season And Oil Cooking Surfaces
Non-stick coatings wear out over time, but a mindful approach to oiling and seasoning helps prolong life and improve release for many irons; a thin sweep of neutral oil before a session is often all you need. Apply oil sparingly with a paper towel to avoid pooling, which causes hot spots and smoking; a light sheen helps batter release without turning into a greasy surface.
For cast-iron or uncoated steel plates, build up a seasoning layer by heating a thin oil coat between uses, which creates a smoother, more forgiving contact surface with time. Avoid aerosol sprays that contain additives; those can leave tacky residues that attract grime and eventually affect flavor.
When you do need to recondition a surface, heat the iron, rub in a small amount of high-smoke-point oil, and bake it briefly to set the layer; repeat as necessary but keep the layers thin and even. If flaking or deep scratches appear, replacement plates or a new unit might be the sensible call, because underlying damage often causes sticking that no amount of care will cure.
Treat the cooking surface with respect — light, regular attention beats heavy-handed fixes after the fact. A well-conditioned plate gives you clean release and a crisp crust that looks as good as it tastes.


